Testing Your Integration
You can test both APIs interactively using Bruno (https://www.usebruno.com), an open-source API client that makes API calls without requiring you to write code. Hyland supplies ready-made collections for the Data Curation API and the Context API. For information on installing Bruno and running collections, see the Bruno documentation.
Prerequisites
- Bruno installed on your workstation.
- A valid
client_idandclient_secret. For more information, see Authentication.
Data Curation API
Download the file needed to run the collection:
| File | Description |
|---|---|
| CIN-data-curation-bruno-collection.json | Bruno collection |
Step 1: Import the Data Curation collection
Import CIN-data-curation-bruno-collection.json into Bruno. The collection is displayed in the Bruno sidebar.
Step 2: Select the Data Curation environment
Select the Production environment.
Step 3: Authenticate to the Data Curation API
To request an access token:
- Open the Get Access Token request (
POST) in the Authentication folder. - Select the Body tab.
- Enter your credentials in the
client_idandclient_secretfields. - Send the request. The response is
200 OK.
The access token is stored automatically in the token environment variable. You do not need to copy it manually.
Step 4: Generate presigned URLs
To generate the presigned URLs for the job:
- Open the Generate Pre-sign URLs request (
POST) in the Initiate Pipeline folder. - In the Body tab, specify the files you want to process.
- Send the request. The response is
200 OKand contains presigned URLs for upload and download, which are stored automatically as environment variables.
Step 5: Upload the file to the Data Curation API
To upload the file:
- Open the Upload File For Processing request (
PUT) in the S3 Operations folder. - In the Body tab, select the file you want to upload.
- Send the request. The response is
200 OK.
Step 6: Check job status
To check the status of the most recent job, send the Most Recent Job - Get Status request (GET) in the Status Check folder. To check a specific job, send the Get Status For Job request and provide the jobId.
The response is 200 OK and contains the current job status in the body.
Step 7: Download the output
After the job status indicates that processing is complete, send the Download Processed Output request (GET) in the S3 Operations folder.
The response is 200 OK and contains the processed output in the body.
Context API
Download the files needed to run the collection:
| File | Description |
|---|---|
| CIN.zip | Bruno collection |
| invoice_example.png | Sample image file for testing |
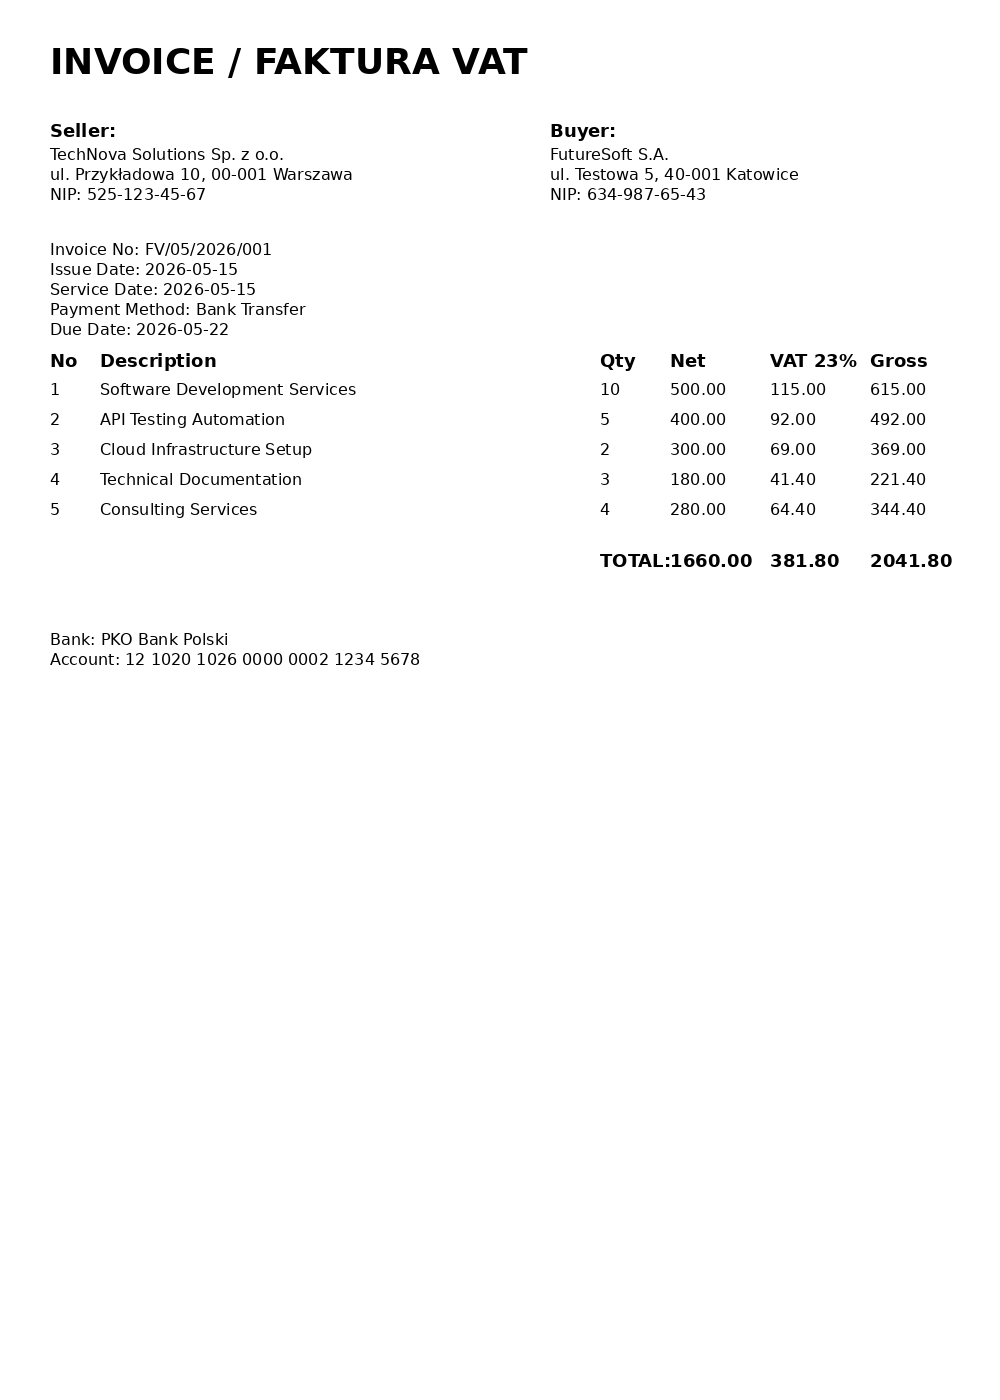
Step 1: Import the Context API collection
Import CIN.zip into Bruno. The CIN collection is displayed in the Bruno sidebar.
Step 2: Select the Context API environment
Select either the CIN - production or the CIN - production eu environment.
Step 3: Check API health
Send the HealthCheck request (GET). The response is 200 OK with the body "Healthy".
Step 4: Authenticate to the Context API
To request an access token:
- Open the Get Access Token request (
POST) in the Authentication folder. - Select the Body tab.
- Enter your credentials in the
client_idandclient_secretfields. - Send the Authorize request. The response is
200 OK.
The access token is stored automatically in the access_token environment variable. You do not need to copy it manually.
Step 5: Check available actions
Send the Retrieve available actions request (GET /content/process/actions) in the Actions folder. A 200 OK response confirms that authorization is working and returns the list of actions available on your subscription.
To use the v2 format, which returns action objects with schemas, include the ?version=context.api/v2 query parameter in the request.
Step 6: Generate a presigned URL for upload
To generate a presigned URL:
- Open the PresignedUrl request (
GET /files/upload/presigned-url). - In the Params tab, set the
contentTypequery parameter to the MIME type of the file you want to upload. For the list of supported file types, see Limits and constraints. - Send the request. The response is
200 OKand contains two values you need in the following steps:presignedUrl, which you need in Step 7. It is stored automatically in thepresignedUrlenvironment variable.objectKey, which you need when you trigger content processing. It is stored automatically in theobjectKeyenvironment variable.
You do not need to copy either value manually.
Step 7: Upload the file to the Context API
You can use the sample file invoice_example.png to test the upload.
To upload the file:
- Open the Upload file request (
PUT). - In the Body tab, select your file.
- Send the request. The response is
200 OK.
Step 8: Submit a processing request
To submit a processing request:
- Open the Content processing request (
POST /content/process) in the Processing folder. - In the Body tab, modify the sample request body. The key field is
objectKeys, which is set automatically from Step 6. You can replace it with any validobjectKey. You can also modify theactionsobject to select a different action. - Send the request. The response is
200 OKand contains aprocessingId, which is stored automatically in theresult_idenvironment variable.
For details on each action and its parameters, see Actions Reference.
Step 9: Poll for results
Send the Retrieve result by ID request (GET /content/process/{id}/results) in the Processing folder. The processingId from Step 8 is included in the URL automatically. You can also provide any valid processingId manually.
The endpoint returns one of the following responses:
202 Accepted. Processing is in progress. The response body includes"inProgress": trueand"status": "PROCESSING".200 OK. Processing is complete. The response body includes"inProgress": falseand the processing result.404 Not Found. The specifiedprocessingIddoes not exist.400 Bad Request. Processing failed with one or more validation errors.
Next steps
- Obtain an access token. For more information, see Authentication.
- Review the Data Curation API endpoints. For more information, see Data Curation API Endpoints Reference.
- Review the Context API endpoints. For more information, see Context API Endpoints Reference.
- Use a code sample. For Data Curation API samples, see Code Samples. For Context API samples, see Code Samples.